LearnDash LMS Integration Guide
1. How it works
The integration of the proctoring system with the LearnDash LMS is done using the Supervisor SDK (JavaScript proctoring library) along with a custom script that hides the quiz element until the proctoring session starts. You need to place the custom SDK code on the quiz page using a Custom HTML element in LearnDash LMS.
2. Add a custom HTML element to a quiz
Navigate to a quiz section and either create a custom quiz or modify predefined.
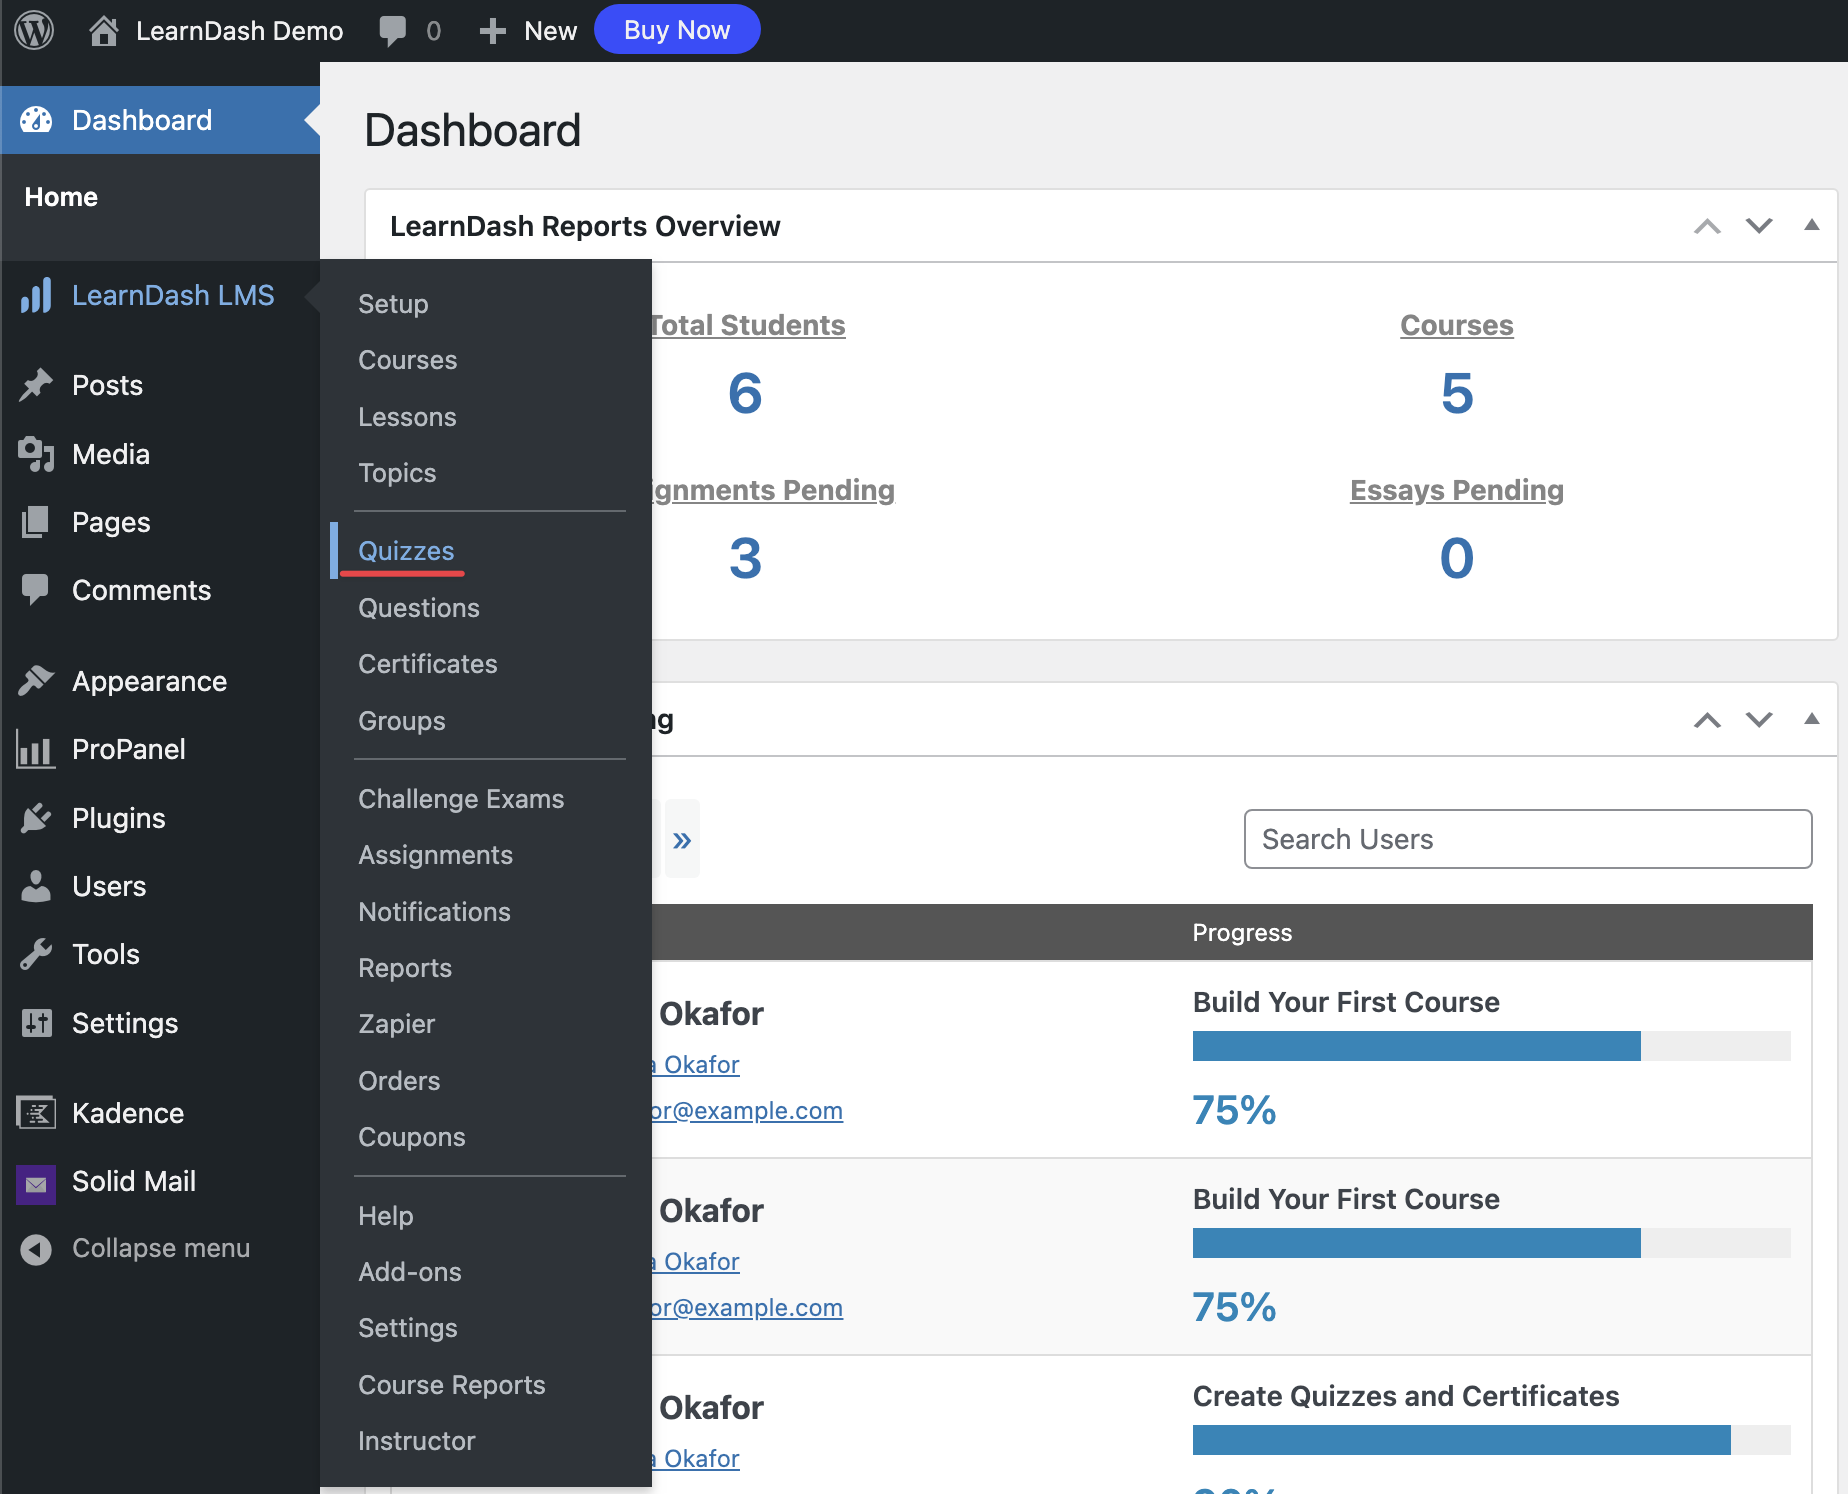
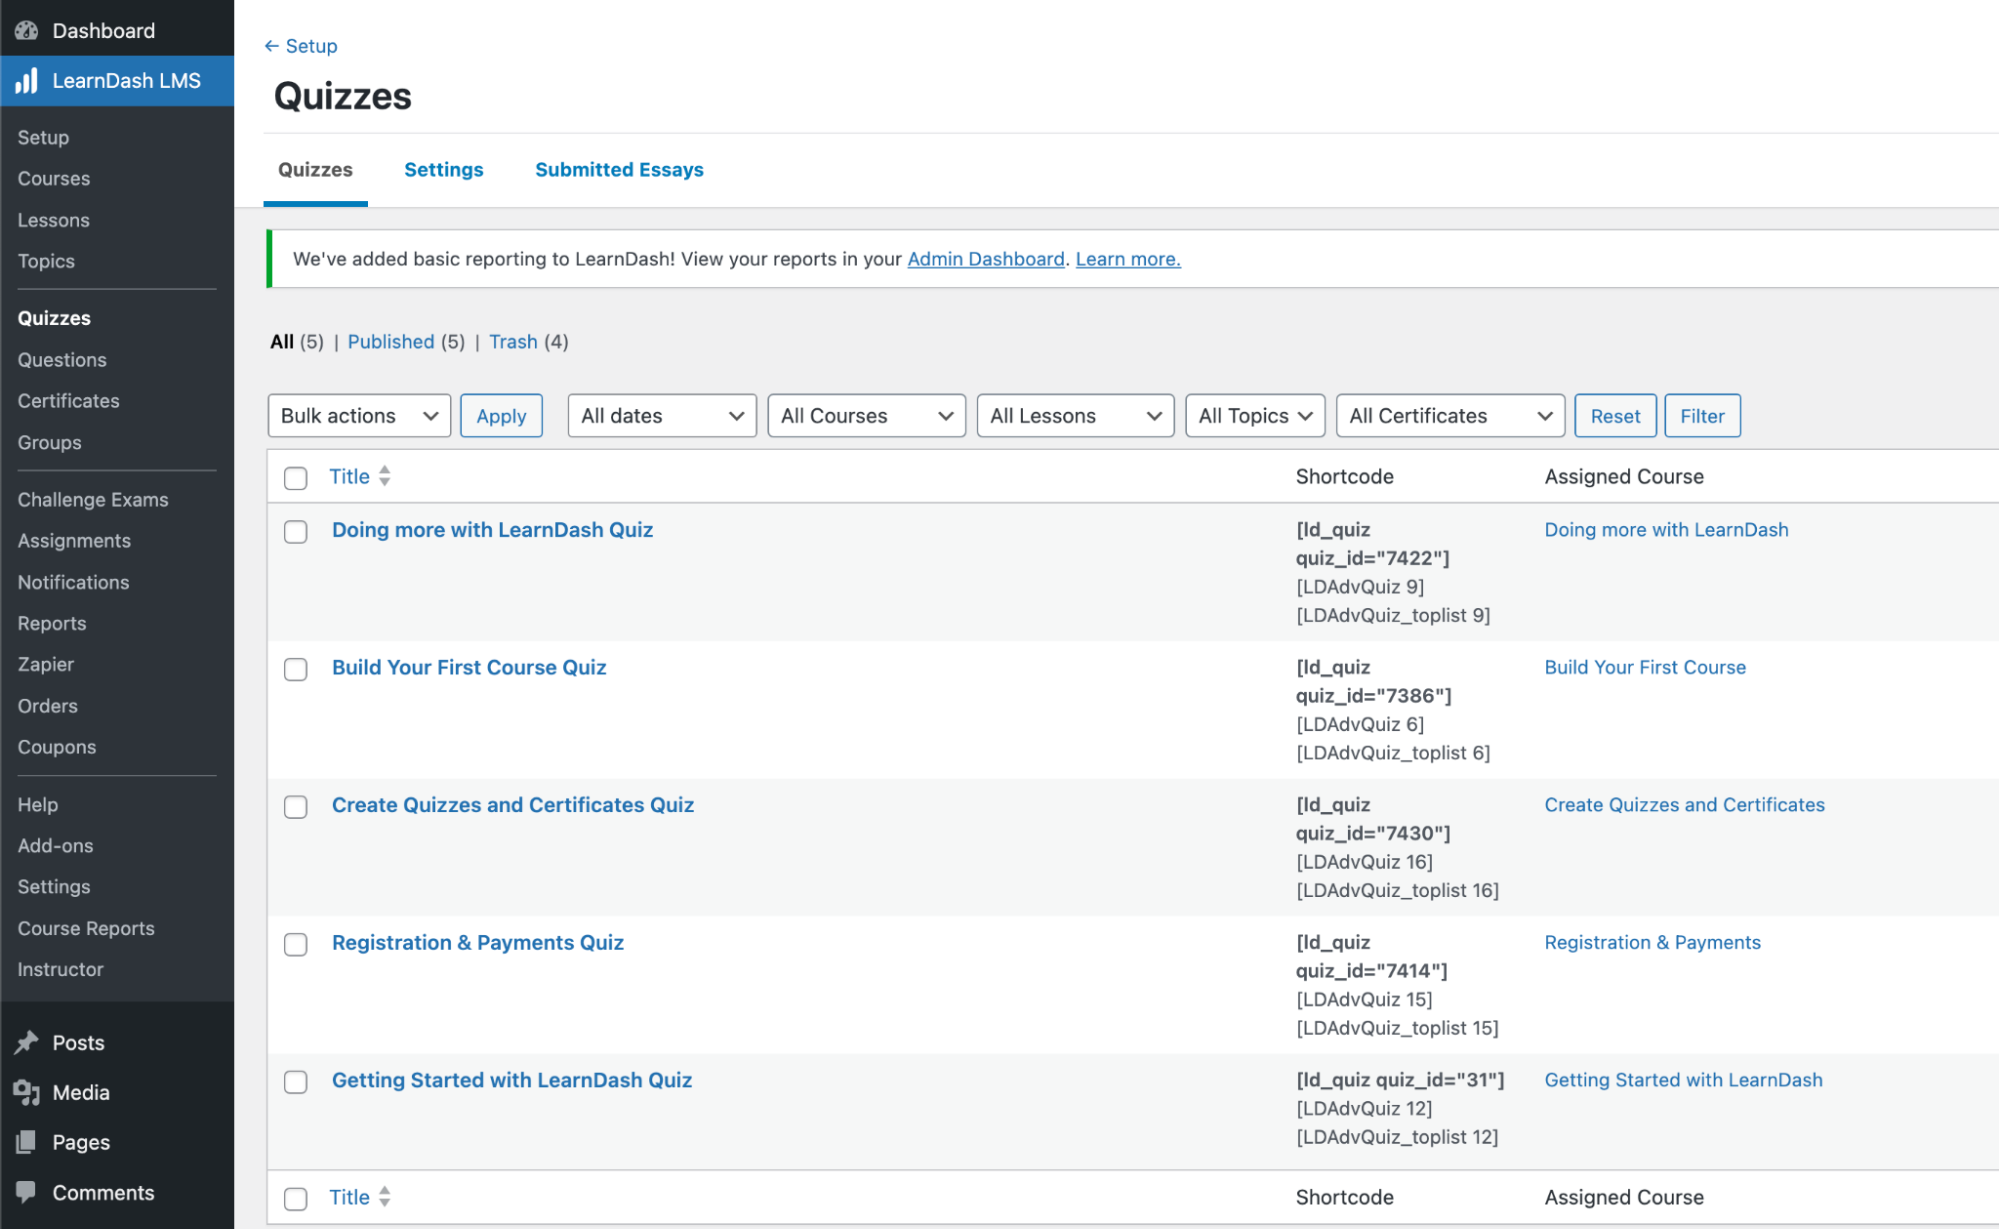
As an example, we'll use the first quiz (Doing more with LearnDash Quiz):
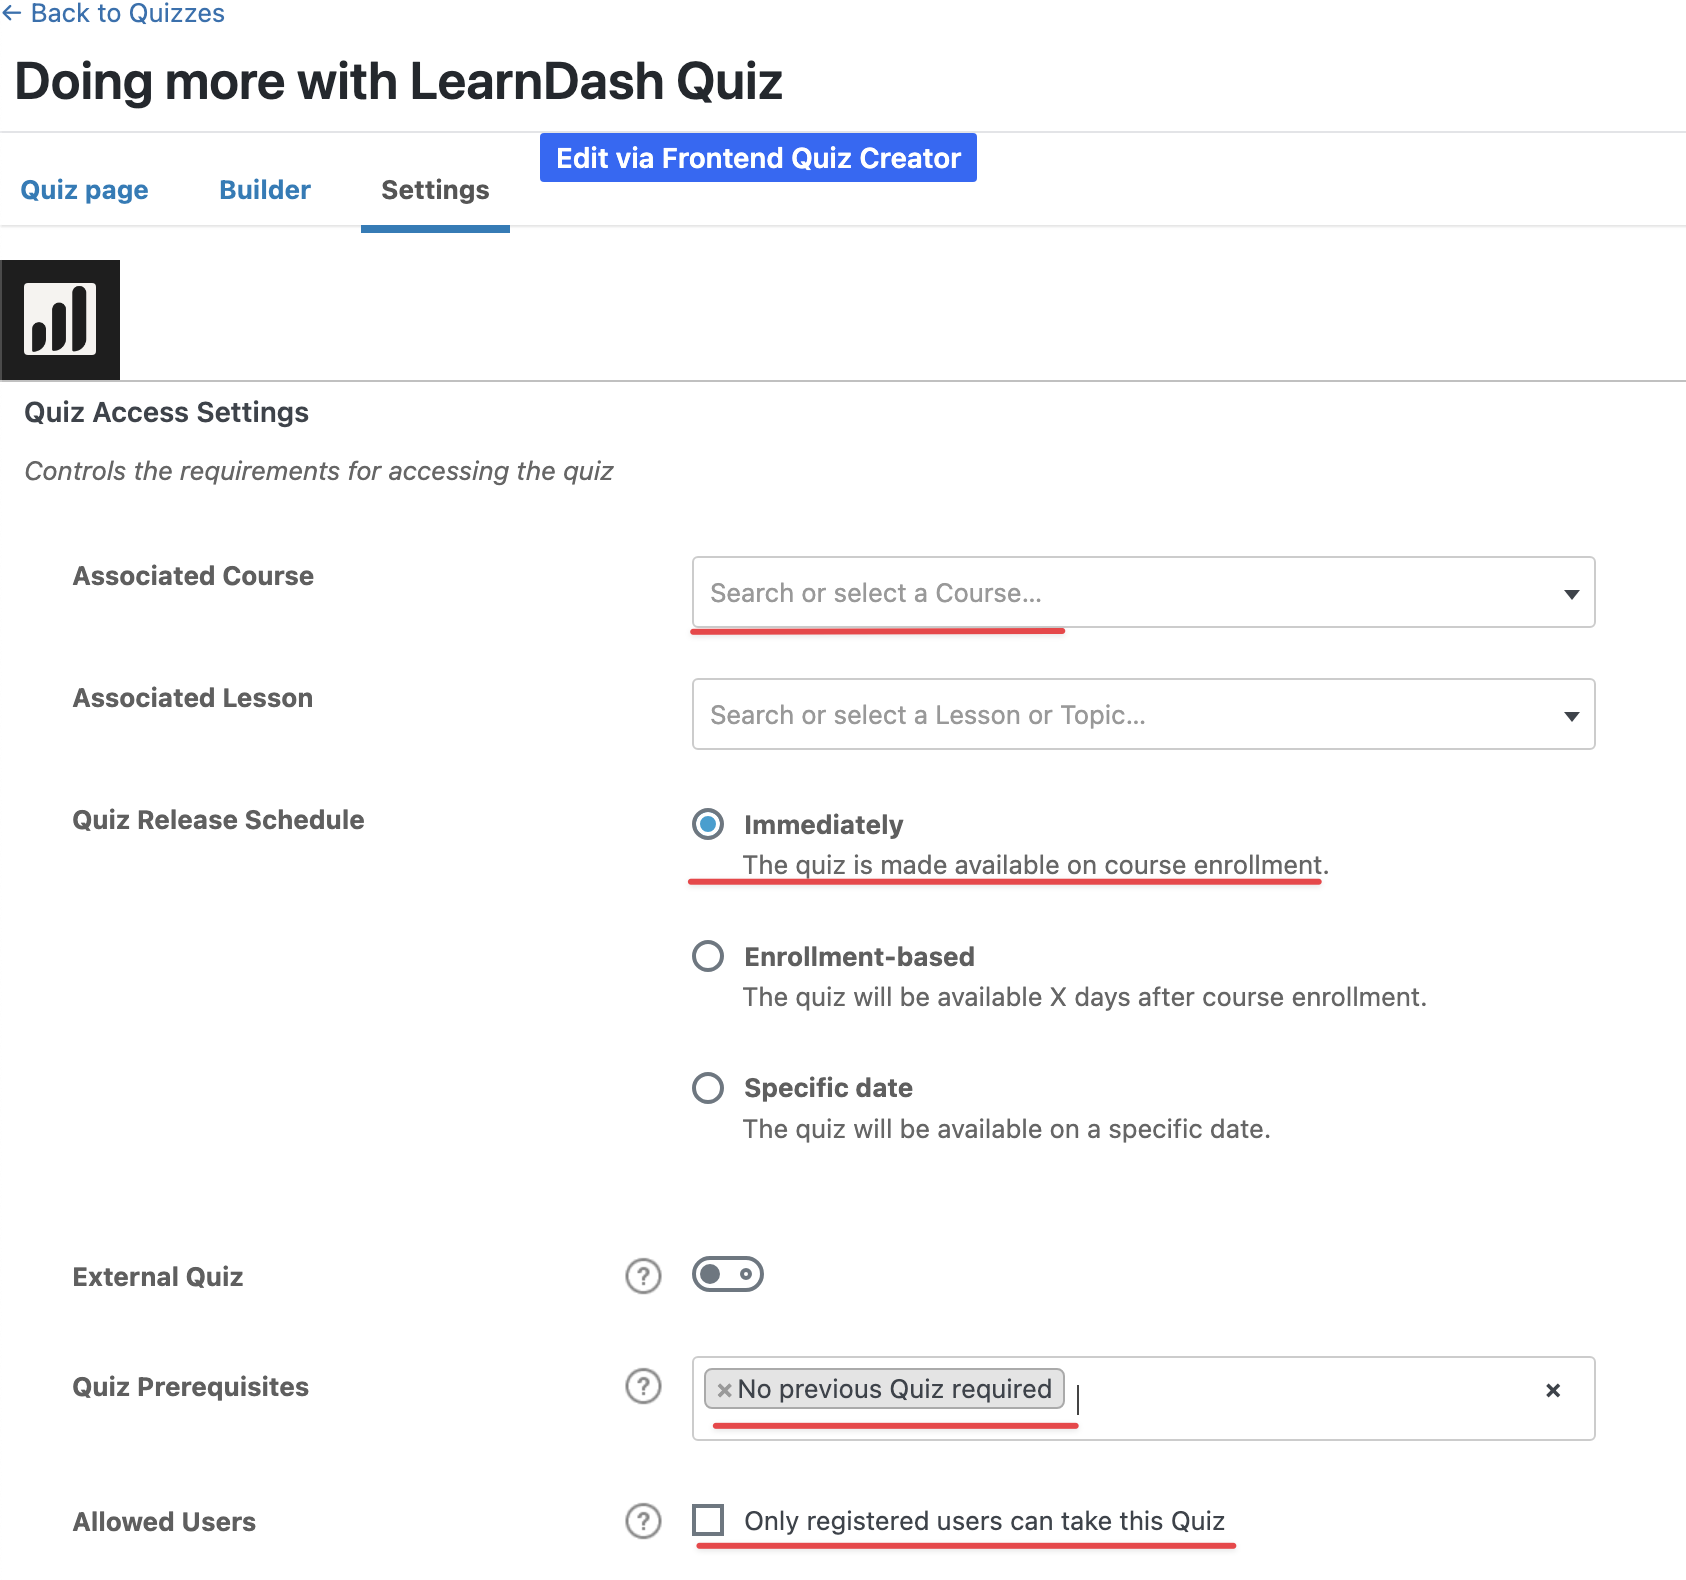
Access to the quiz can be configured via the settings menu, where associated courses can be populated, along with the quiz schedule, registration requirement, other quiz dependencies, etc. For example purposes we have removed any requirements as demonstrated on the screenshot below:
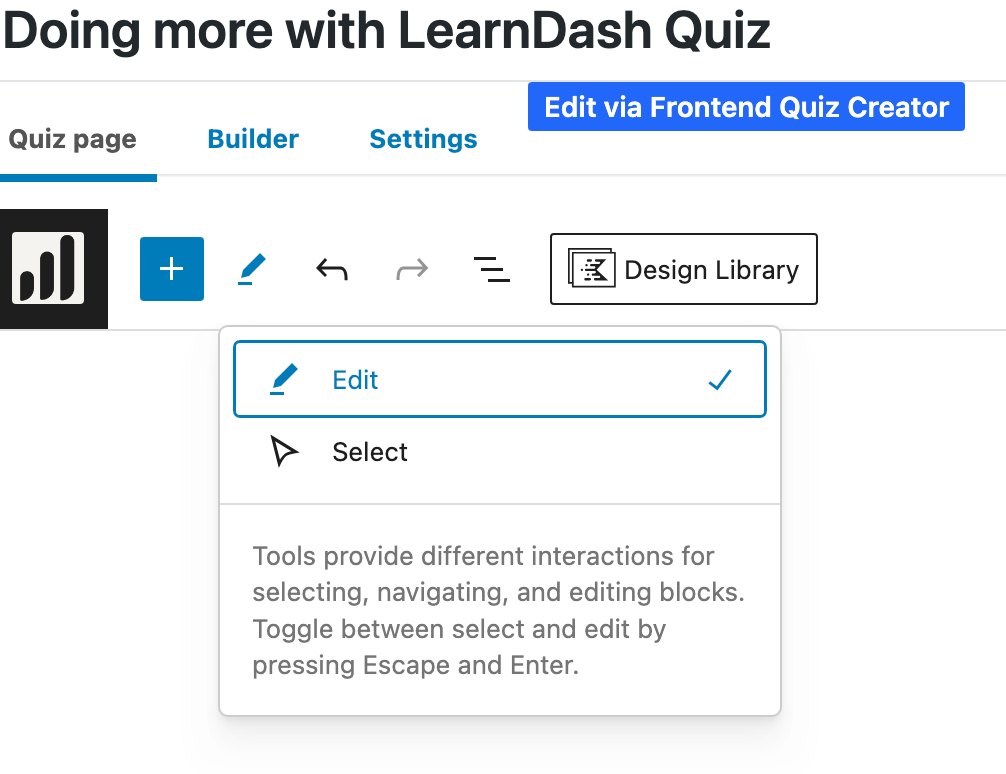
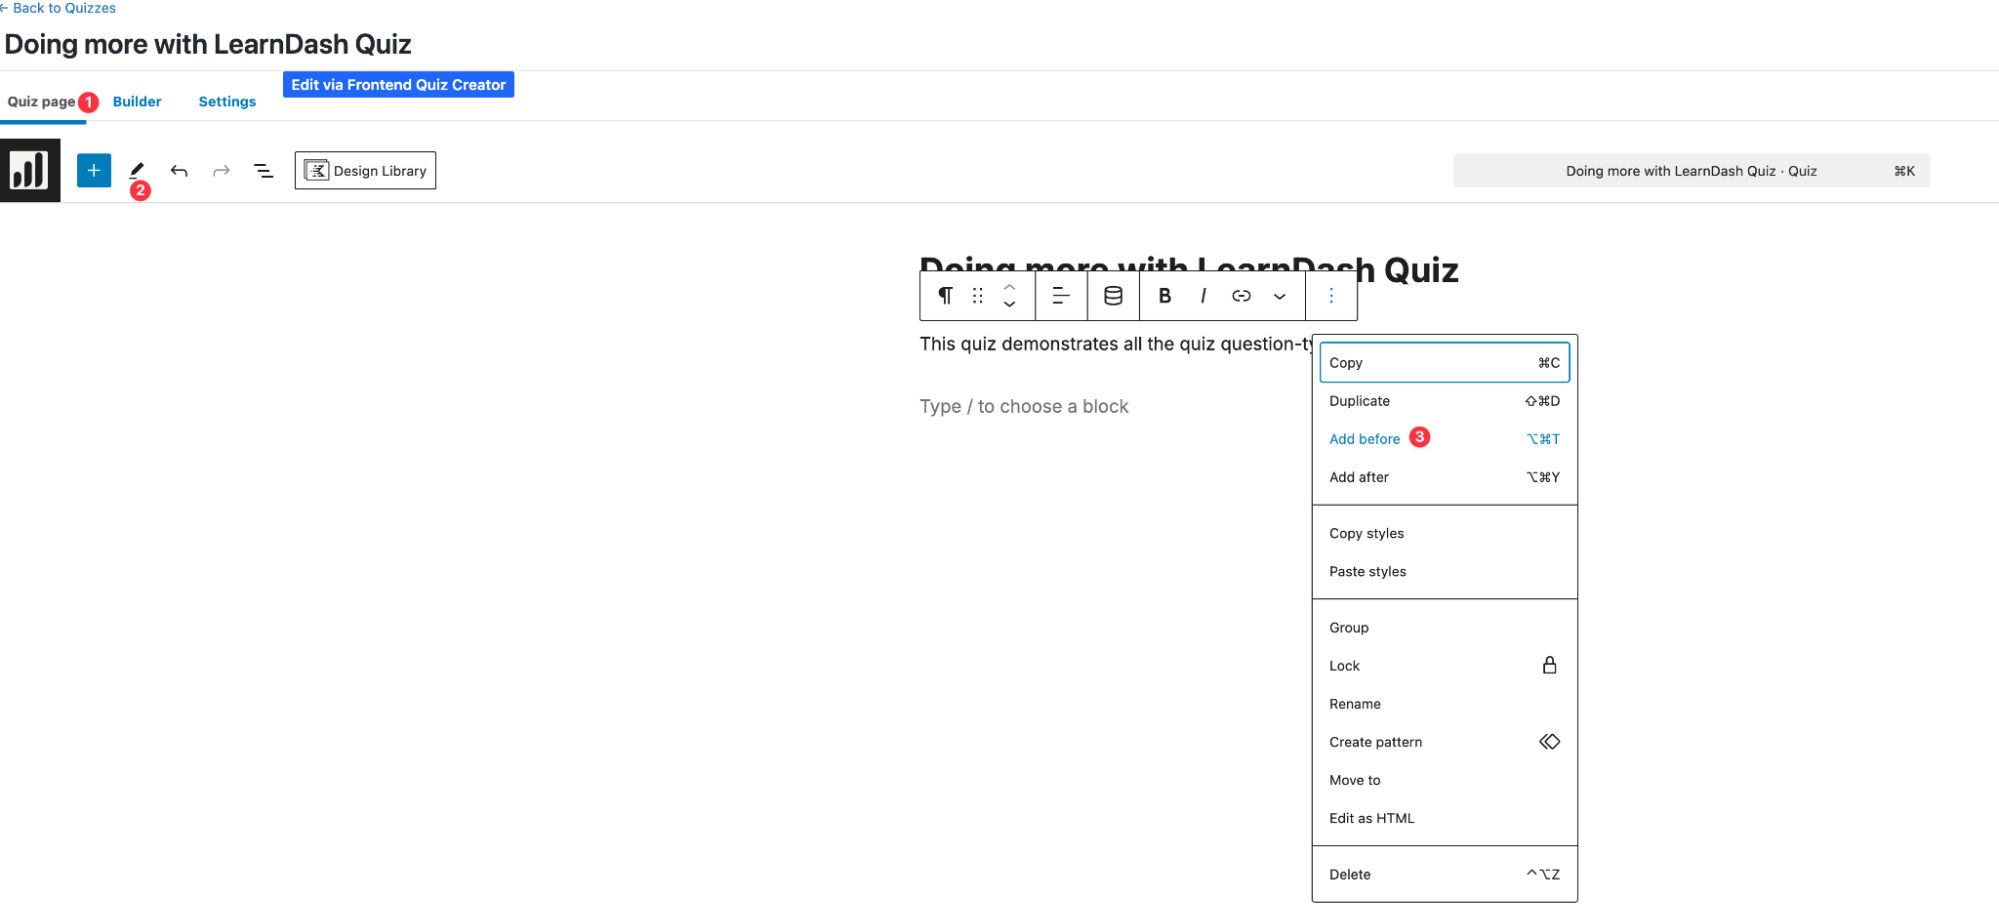
On the quiz page ensure that you are in the edit mode:
Add a block for a custom HTML element using a dropdown menu (right-click on the quiz page):
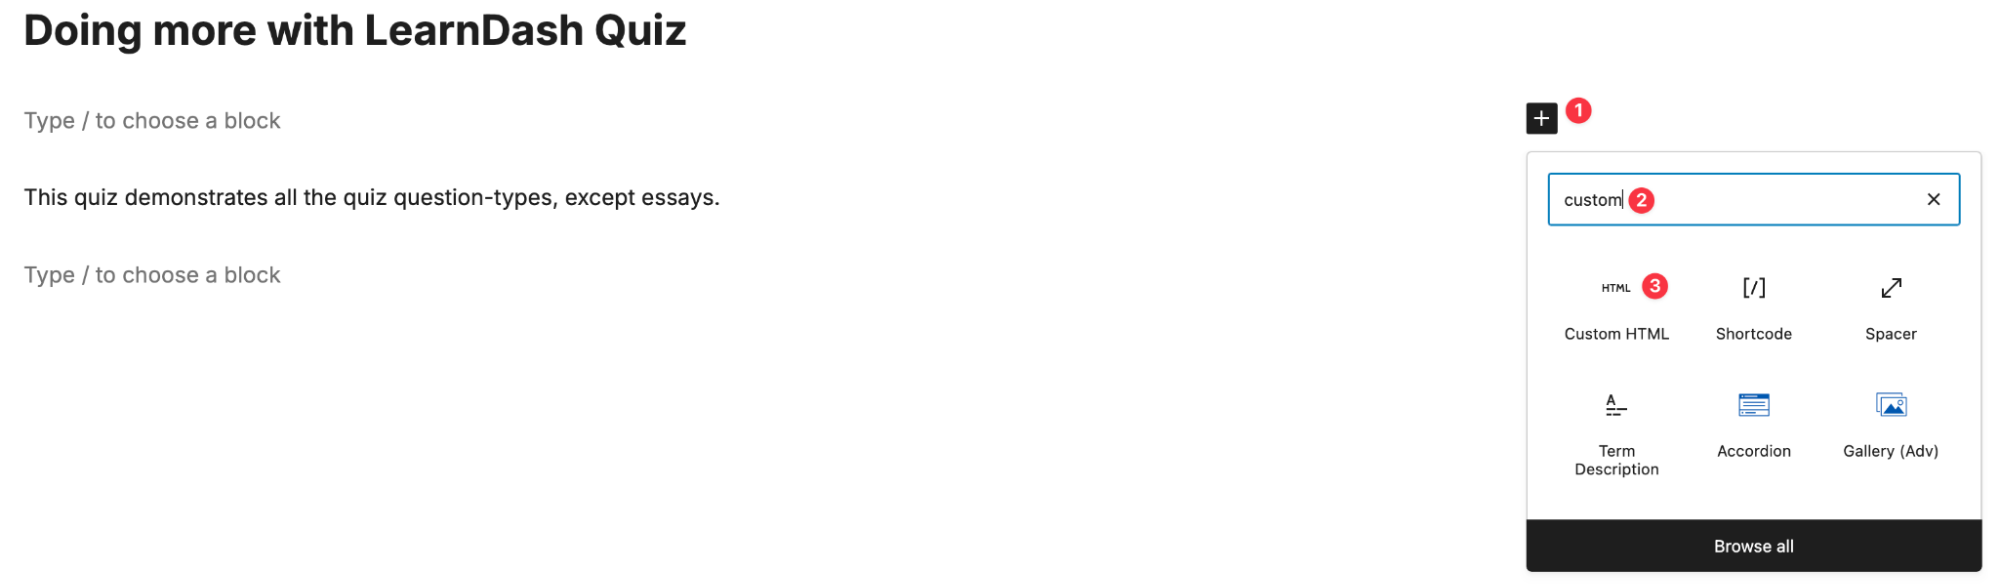
Once a block has been added, click on the "+" icon and search for a Custom HTML element using the search bar:
3. Upload the proctoring script
Now you need to add a custom JS script in the newly added custom HTML block which will prevent accessing a quiz until proctoring is successfully started and click the "Save" button.
<script src="https://demo.proctoring.app/sdk/supervisor.js" data-supervisor="init"></script>
<script>
  document.body.querySelector('.learndash-wrapper').style.display = 'none';
  if (window.supervisor) {
    supervisor.on('start', function() {
      document.body.querySelector('.learndash-wrapper').style.display = '';
    });
  }
</script>
NOTE: You need to replace "demo.proctoring.app" with the domain of your proctoring server in the script code.
4. Use of proctoring
On your proctoring server, create an assessment (the session template) with the following parameters:
- Identifier – the session template identifier that your test-takers must enter. Allowed characters: A-Za-z0-9_-.
- Provider – the integration provider, it should specify "signup" or an empty string.
Now, when a test-taker opens the page with the quiz, the proctoring session begins to initialize and the registration dialog opens. The test-taker fills in the fields:
- Login – the user's unique identifier (allows only "a-zA-Z0-9_-" characters).
- Assessment identifier – the session template identifier from the assessment above.
Then the test-taker passes the preliminary stages of the session. When the session starts, the quiz content is displayed within the proctoring interface according to the proctoring workflow. After a reload of the page, the session of the test-taker is resumed.
NOTE: The registration through this dialog creates test-takers only. Teachers and administrators open the sessions in the proctoring system itself, according to the Proctor's Guide.